Tuesday, July 16, 2013

Me & My Peeps Blog Hop and a little Phoomph


You know you've signed up for a blog hop with Laura Kelly, when you start getting Me & My Peeps decals, buttons from  Buttons Galore and More, poems, love notes, personalized tags, and awesome sparkle bubble gum in your mailbox! I recently did another blog hop with Laura's Patriotic Fabric and had a lot of fun thinking outside of the box. I love being given something and being told "here you go - do something...anything". I love that freedom and also love the challenge.

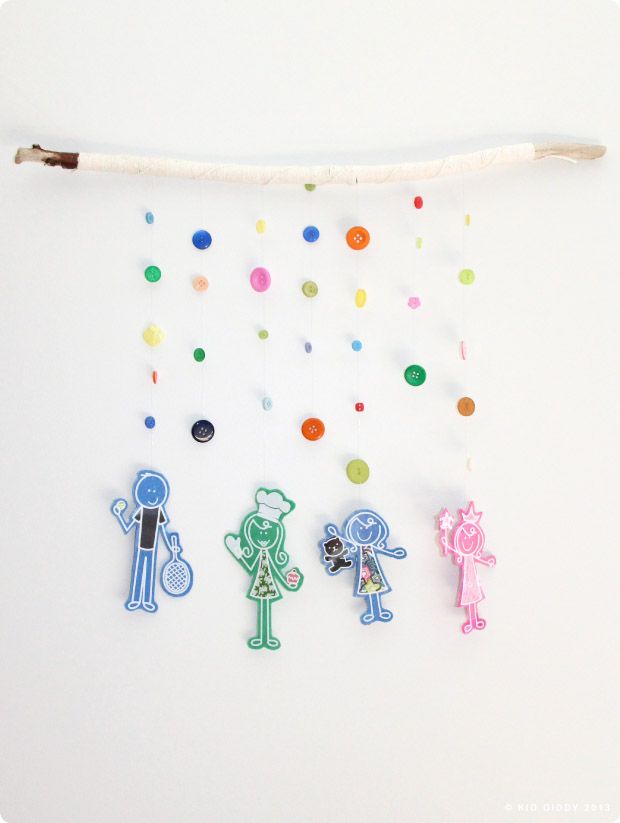
For the Me and My Peeps blog hop, I decided to make a little home decor wall hanging. It's really easy and there's not too much in way of supplies.
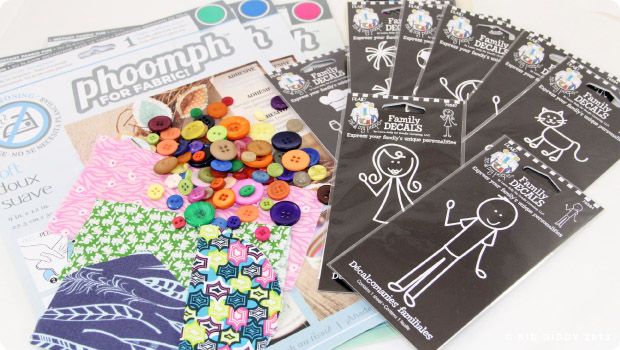
You'll need:
The Me & My Peeps decals from Plaid
Laura's Buttons Galore and More Button Mix
Phoomph from Coats & Clark
Westcott Titanium Scissors cut the phoomph without leaving a residue!
Clear fishing line
Scraps of fabric
Pattern paper or Tracing paper
Tree branch from outside or some stick
Cotton Yarn (optional)

What you do:


Decide on the decals you want to use. You can combine a person with some of the accessories no problem - just make sure you decide that ahead of time. Where ever you want a piece of fabric to show, use a piece of tracing paper and trace the part of that image. Flip it over onto the fabric and cut the fabric piece out (you have to flip it so the finished side of the fabric is showing when finished). Peel back the sticky paper attached to the decal, and lay the fabric piece onto the decal, right side down.
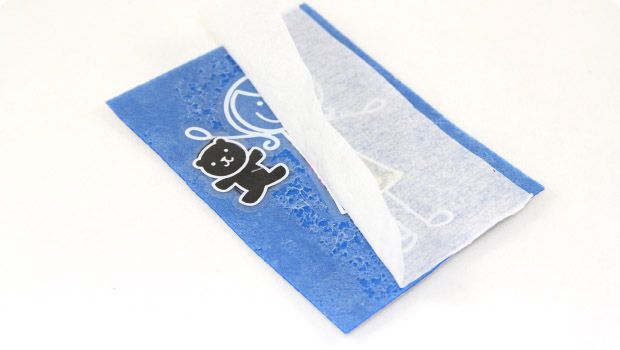
Lay the decal face down onto the phoomph after you peel the paper off one side only. Then peel the sticky side of the decal paper off the top of the phoomph. Because both of these pieces are sticky, you'll see it peel some of extra adhesive off the phoomph, but it's ok, because that part will be cut away.
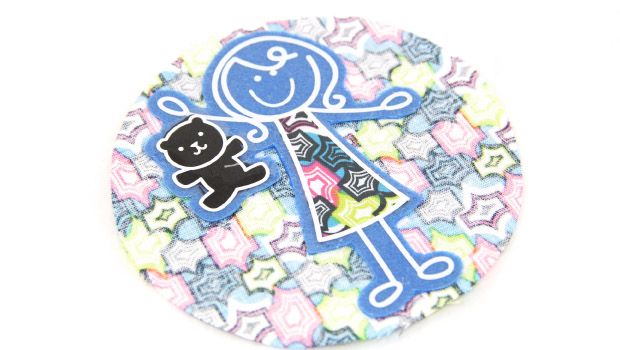
After cutting out the entire shape of your Me and My Peep decal on the phoomph, peel off the back paper side of the phoomph, place a piece of knotted fishing line to the top back of the head, and then lay it down onto the wrong side of your piece of fabric. Cut out the whole shape of your peep again, making sure not to cut the fishing line. 
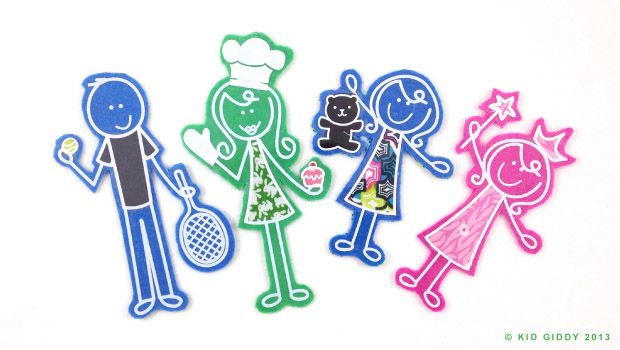
Make as many peeps as you want, add pets, add friends, and you can even add the grill for the grill master!
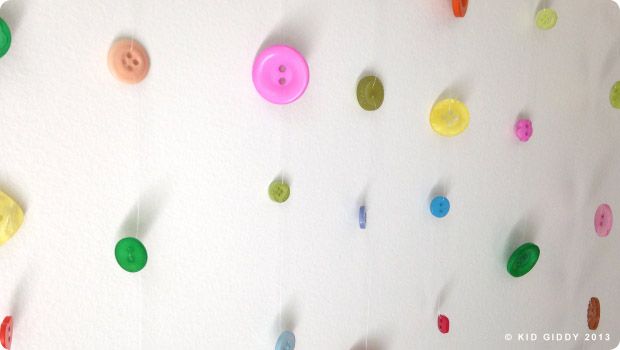
To make your button strands, thread the fishing line through two button holes. The buttons will still be moveable and adjustable, but will still naturally hang in the place you put them. If you don't want them to move at all, thread them, and then loop it through again.

When you are finished threading your buttons, tie it to your branch or stick. If you want to spruce up your branch, as I have done, you can get some simple (and awesome) cotton yarn, and simply do a chinese spiral staircase along the whole branch or just sections if you wish.

Thanks so much for visiting my blog. If you'd like to win an awesome goody bag from Laura Kelly and these amazing sponsors, please enter the rafflecopter giveaway here...

a Rafflecopter giveaway

There were 20 designers included in this blog hop, that will go on throughout the week. Check out their designs too for some other fun crafts and ideas! You can find a full list on the Me & My Peeps Website or see the other bloggers that posted today...

Thank you to Laura and her co-host Niki for including me in the blog hop, for the cute decals, buttons and awesome goodies from so many great manufacturers!

Have a great day all!


Although I was given free product, the opinions set forth in this post, are my own. This tutorial is shared with you in the hopes that you will learn a new fun craft. Please do not use my tutorials for your own gain. Please do not use my photos without permission and please do not retake any photos to remake the tutorial for your own blog or another company or in another language. These photos and the text are copyright protected. If you'd like to "Pin" the one finished project photo, please credit me by using "#kidgiddy". Thank you for your cooperation.
Special thanks to our Sponsors and Promoting Partners

Monday, June 10, 2013

Baby Liberty - I Love the USA Blog Hop


I was so excited when fellow Craft and Hobby Association Designers Laura Kelly and Jen Goode contacted me to participate in their "I Love the USA Blog Hop" to celebrate Laura's Patriotic "America the Beautiful" print that is in Joann stores now! I jumped at the chance, not just because I love a challenge, but because I thought it would be fun to make something patriotic this year, not to mention it's fun to support other amazing designers I have met within the industry!
The goodie box came a few weeks ago and my girls and I oooh'd and aaaah'd over everything red white and blue {from Coats & Clark: phoomph & threads, Buttons Galore & More: buttons, May Arts: ribbon, Plaid: infamous Mod Podge and Apple Barrel paints, Fiskars: scissors} and the candy that was gone in seconds. The possibilities were endless...my mind started spinning...and the first idea came to me minutes later! My only hold up...I just had to do my final book edits first. I was itching to make something and kept adding one idea after another - it was driving me crazy to not get started.

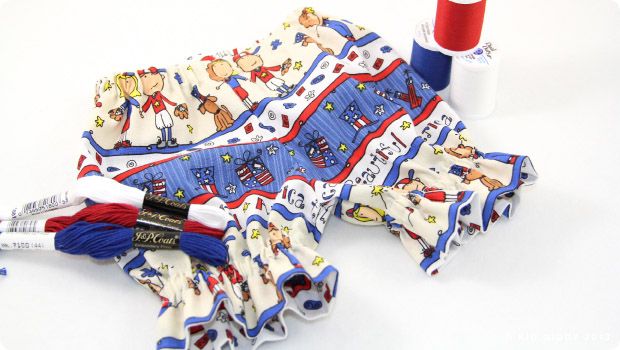
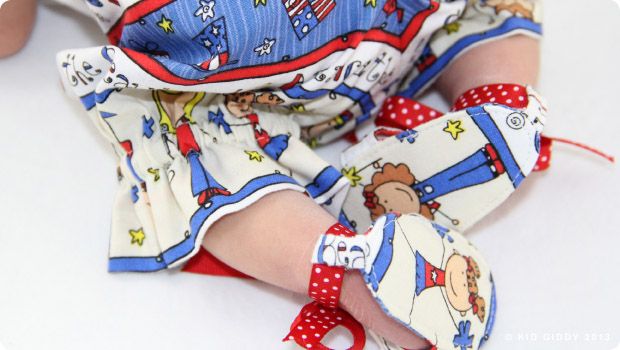
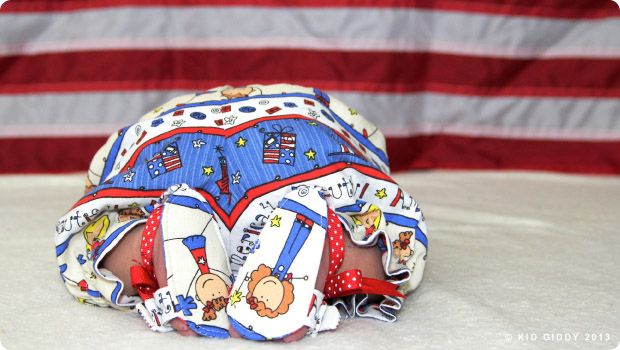
But when it was time....it started with the bloomers. 
 
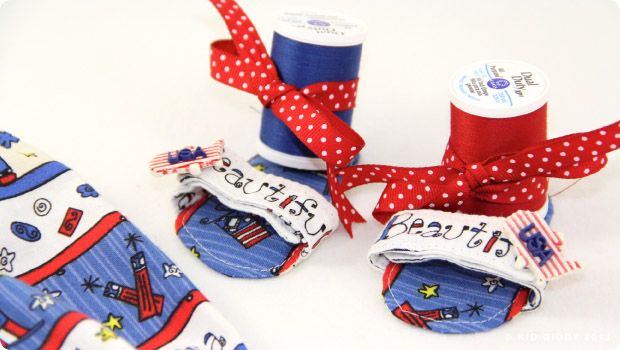
Then the sandals.

Which of course required some fun fussy cutting to have some little "peeps" on the soles and the word "beautiful" on the straps!
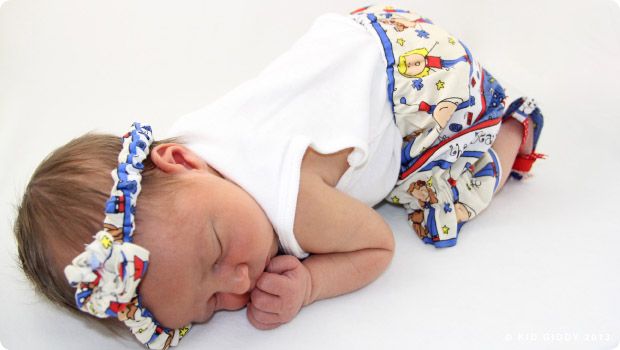
A little bonnet (which was a big enough for a one year old), so in comes the cute headband in 5 mins or less (can't make baby liberty wait - she might wake up)!
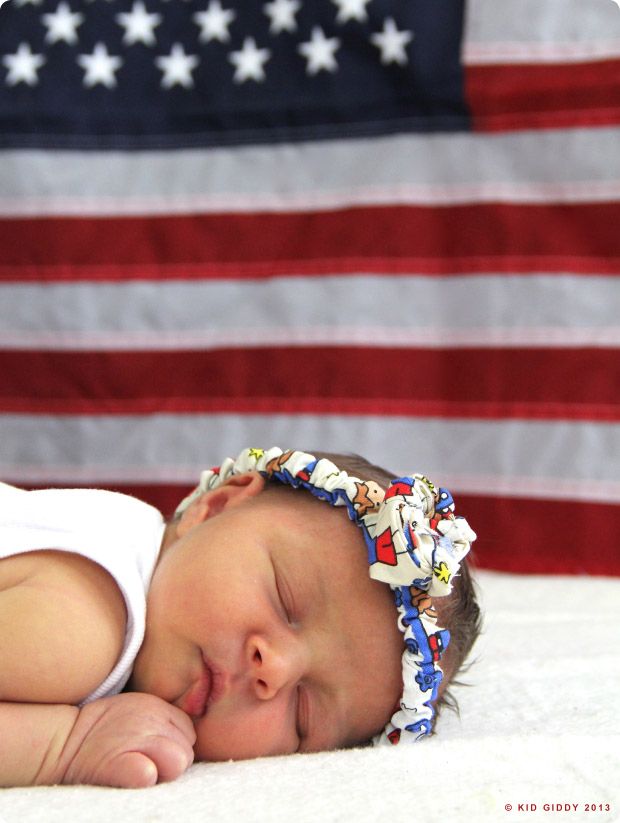
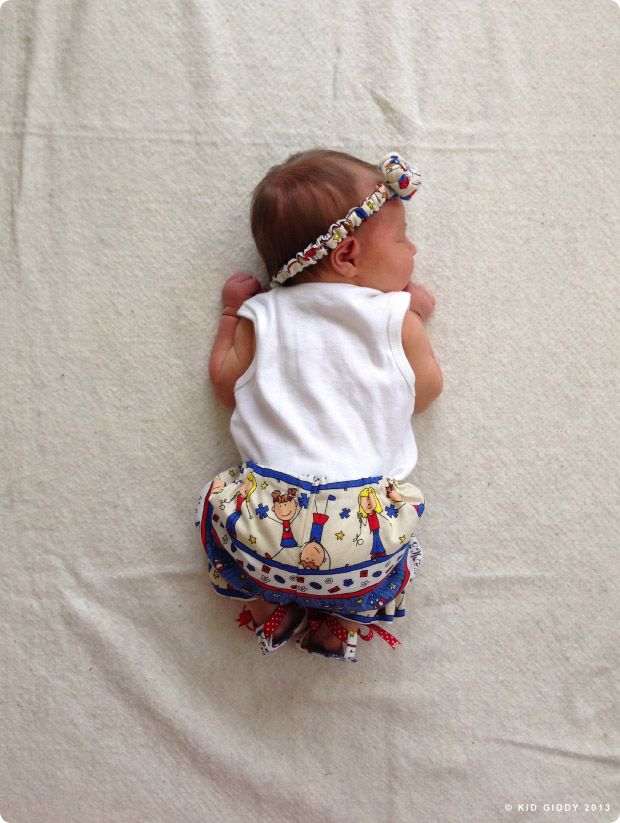
I had so much fun making this little newborn set with Laura's patriotic fabric and loved taking pics of this tiny "baby liberty". 
I got to photograph this adorable baby girl and hold her and cuddle her and even kissed her cheeks a few times (her grandma, my friend, said it was ok)! Have I told you lately I love my "job"?!
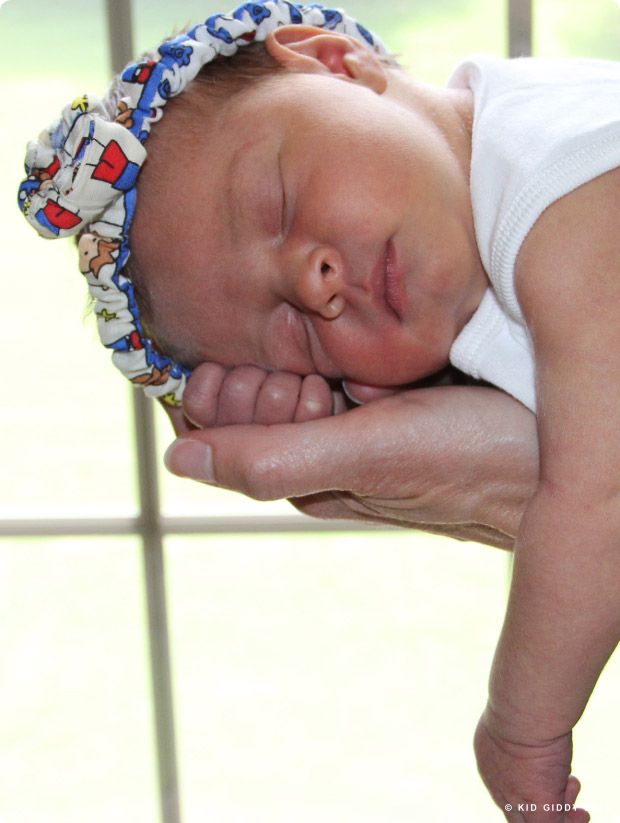
As I was moving baby liberty from the light box (yes - she fit inside my light box!) - she squirmed for a second, lost control of her arm, and laid quietly asleep in my hand...her grandma took this pic for me...
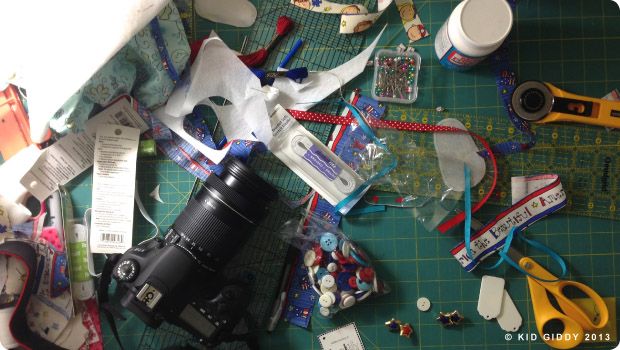
I'll be making some more stuff in the coming days before my studio move (or just after) - and I'll post the pics as I go along. I know my girls want to play too! When I was done with this one outfit...I went to bed with my craft table looking like this! (and it still does - i can't lie! lol!).
To get some of Laura Kelly's Patriotic "America the Beautiful" (Me & My Peeps) Fabric, you can purchase it in Joann Stores or click the link above. 
There is also an AWESOME giveaway and you can enter to win by adding your info to the rafflecopter link below..
a Rafflecopter giveaway

There were 25 designers included in this blog hop, that will go on throughout the week. Check out their designs too for some other fun crafts and ideas! You can find a full list on the 100Directions website, or click the blog hop image above!

Thank you to Laura and her co-host Jen for including me in the blog hop, for the fun fabric and awesome goodies from so many great manufacturers!

Have a great day all!


Although I was given free product, the opinions set forth in this post, are my own. Please do not use my photos without permission and please do not retake any photos to remake the post for your own blog or another company or in another language. These photos and the text are copyright protected. If you'd like to "Pin" the one finished project photo, please credit me by using "#kidgiddy". Thank you for your cooperation.
 <a href="http://www.bloglovin.com/blog/2330921/?claim=hemk6vwxh7s">Follow my blog with Bloglovin</a>

Monday, April 15, 2013

Mini Felted Cherry Blossom Tutorial

DIY Cherry Blossom Tree Craft Felted Flowers by Kid Giddy photo DIYCherryBlossomTreeByKidGiddy1_zpsad5b4e54.jpgIt's no secret, I live in Maine. I live far far away from the March/April beauty of the southern Cherry Blossom trees that everyone post pics about and talks about all over Facebook and Instagram. About two weeks ago I saw so many cherry blossom tree pics, that I decided to make a little one for myself to enjoy.
DIY Cherry Blossom Tree Craft Felted Flowers by Kid Giddy photo DIYCherryBlossomTreeByKidGiddy8_zpsb9cd4052.jpg
Since I can't have the real thing this will have to do, until it's warm enough here in Maine for all of our flowering trees and bushes to pop! I used an old pink wool sweater that I previously cut apart for this Hexagon Ball tutorial, but you can buy some 100% wool felt from your nearest craft or fabric store if you don't, as I used here for the white flowers. You'll also need some basic needle felting supplies, a hot glue gun and a branch that looks like a mini tree.

Wednesday, April 10, 2013

DIY Cousins Slider Bracelet Blog Hop


Kid Giddy Felted Flower Butterfly Frog Bracelets made with Cousin Jewelry photo CousinsSlideBraceletsByKidGiddy1_zps22cc678c.jpg
I'm always so excited to get a new box of products to play with because it always stretches my brain and creative process. This time it was a box from the folks over at Cousin Jewelry. They have a new slider bracelet system which is easier than making pie! (Of course, I would never suggest you not make pie - esp if you are going to eat it while crafting)