Friday, August 30, 2013

Kid Giddy Studio Series - Part 1


More than 9 months ago my husband and I began renovating an empty space above the garage to accommodate a new and much larger studio space for me to work in and for all of us to create in (it's not just my space but sometimes I pretend it is - after all we are all artist - so we all need the creative space).It's been a long and stressful process but the end results are beginning to show and we couldn't be happier! I can finally see the light at the end of the tunnel (and through all the dust)! Thank goodness we are working with an awesome contractor and his really funny crew - otherwise this would've been impossible to get through.

So here are some before and in progress pics..... 
This is Ed. This is what the space looked like before (minus all that gorgeous light). No dry wall. No insulation. Nothing.
This is Kyle. They are all daredevils - made me so nervous...they were putting up the structural beam and took off one side of the roof...
The day before a storm and we had a little bit of a roof and side wall. I'm sure some critters sought refuge in there every night - but don't tell me - I don't want to know!
 This is the new side dormer from the back view.
I went up and looked out and found this guy...Mr DJ.
 I was finally starting to feel the creative vibes flowing - we had one side up and one side to go.
We used to have stairs in the back of the garage that led up to the space. Eventually that would be closed off - so they had to raise the roof on the entryway to accommodate the new stairs...
That's my cutie husband checking out the progress...notice the snow in the valley of the old roof line?! All this was done in the thick of winter. It was bitterly cold - thank goodness the guys had handwarmers - I couldn't do what they do!
While the studio was being created...my girls were getting creative leaving a message under our new bedroom rug for any future homeowners...if there ever will be. They were home from school due to the Blizzard on Feb 8th!
The sharpies are not acid free...but hopefully they will last a lifetime or beyond under the cover of the rug. I guess we will have to wait 20+ years to see! The girls (and I) had such a blast doing this! I highly recommend it.
The best part of doing all the renovating is picking all the new light fixtures, paint colors, and all the little details. I'll be sharing some of those pics too - stay tuned! Thanks for stopping by and I hope you'll come by to see more of the finished pics as I (we) continue to "move in" to the space.


Wednesday, August 21, 2013

The Doll House Series -The Joys of Fabric Shops and School

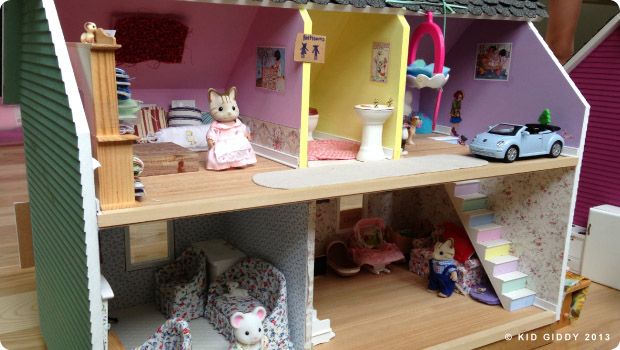
There are days when these doll houses sit collecting dust. There are other days, even weeks when they are joyfully restored, rearranged and brought back to life the moment my daughters begin playing with them again.
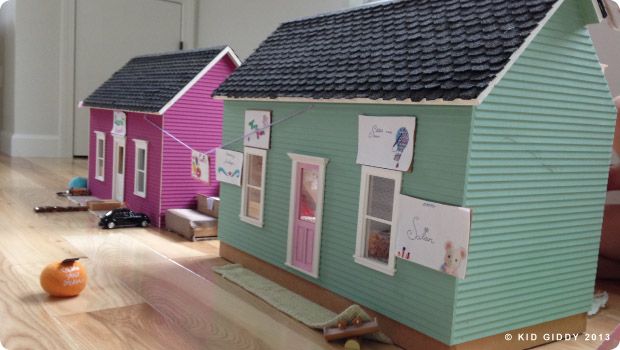
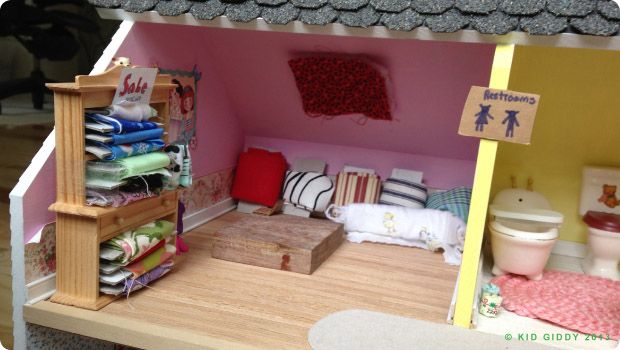
A little fabric shop (with a restroom next door).

I made these doll houses for them when they were little, starting each one, one year, and finishing a couple of years later. They were kits, but I found little time to work on them while folding laundry, doing dishes and all the other motherly things I now miss (like naps)!

This is the latest and greatest arrangement to date:
The fabric shop is called "Stitch and Soar (with a hot-air balloon and needle icon), the Firefly Salon, the Toy Fun, shop, Newbury Antiques, in the middle of the houses was the Cafe and the pink house was the Get Up to Learn School!
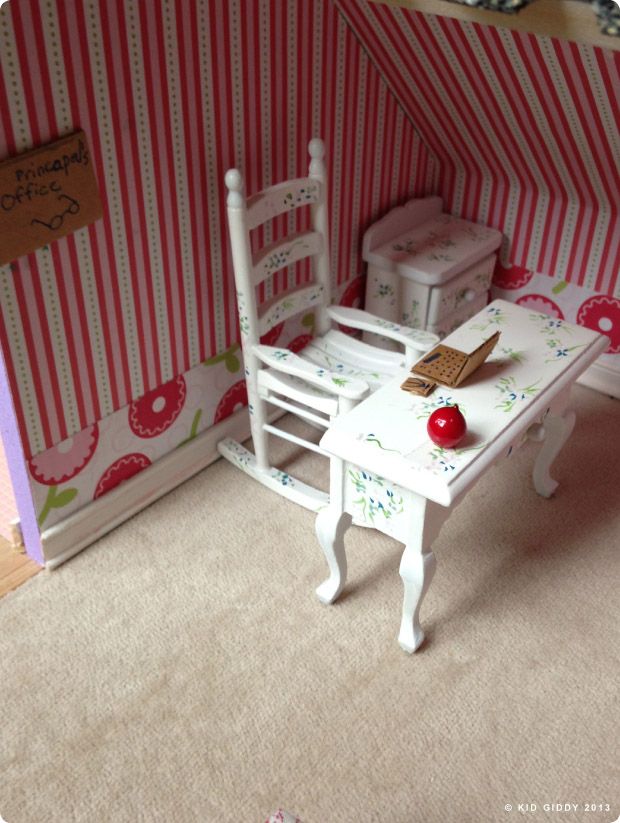
This is the "Get Up to Learn" Principals Office.


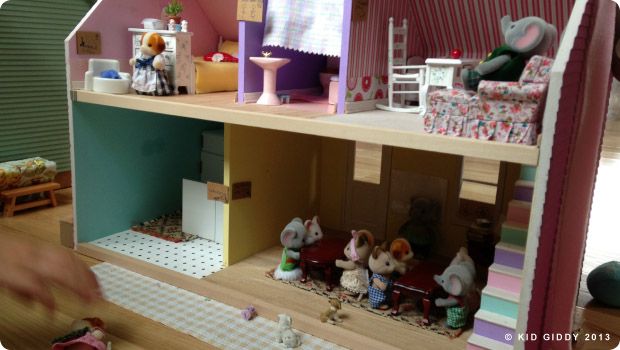
The Nurses Office is in the top left pink room, and the restroom in the middle, then the Principles office. On the lower level is the Cafeteria (on the left) and then to the right, is the classroom with all the little children!

These rooms have been rearranged more times than my own craft studio and have been just about every conceivable store or room - but these latest arrangements made me so giddy I had to share!

Thanks for stopping by!

Tuesday, August 6, 2013

My Book: Sewing Tales to Stitch and Love

I have tried writing this post over and over, and every time I write it, it sounds boastful, or silly, or crazy, or weird to me. Maybe it wouldn't to you - I don't know. But I've never done this before - I've never written a book and don't know the "right way" to promote it. Is there a right way? Is there a way to shout out from the roof tops how excited I am, without sounding boastful?


Having written a book is like giving birth to a baby elephant. It has consumed my life for the most part of 18 months and I am overjoyed with the results. It feels like old news to me - but for most of you, it is all brand new, and I hope you will love it like I do.

In the coming weeks and months - I will be doing a host of giveaways, and sharing real stories that inspired many of the patterns, so please come back often. I hope you will buy the book (it's available for pre-orders on Amazon as well as on Barnes and Noble) and sew along with me. When my Etsy shop re-opens I will be offering signed copies for sale.

If you have already purchased a copy of my book - I thank you from the bottom of my heart! It means so much to me that all my hard work is being accepted.

I'd like to publicly thank Heather Bailey for writing the foreword. Sewing pattern books don't always have a foreword, but I prayed and asked her to write one for mine and she said yes! She's such an amazing person! If you don't know her - check out her website and learn more about her. She's also hosting a ton of giveaways this month to celebrate her birthday and giveback to all her fans - you don't want to miss out! 

Have a wonderful week!


http://kidgiddy.us2.list-manage1.com/subscribe?u=9ea4c419178a2e61b529af8aa&id=975aef860e


Tuesday, July 16, 2013

Me & My Peeps Blog Hop and a little Phoomph


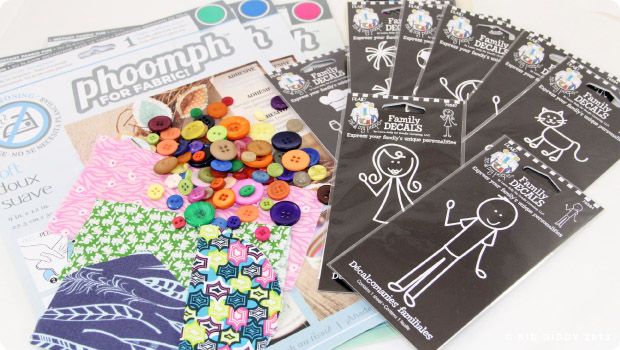
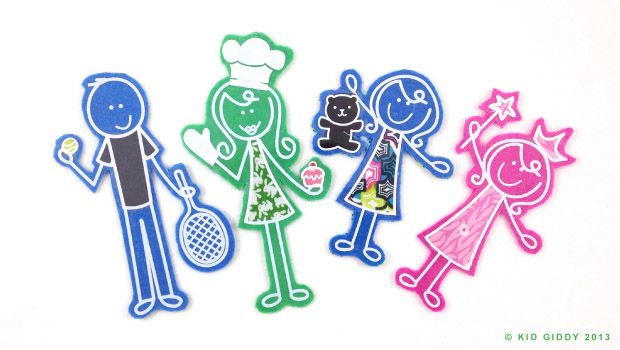
You know you've signed up for a blog hop with Laura Kelly, when you start getting Me & My Peeps decals, buttons from  Buttons Galore and More, poems, love notes, personalized tags, and awesome sparkle bubble gum in your mailbox! I recently did another blog hop with Laura's Patriotic Fabric and had a lot of fun thinking outside of the box. I love being given something and being told "here you go - do something...anything". I love that freedom and also love the challenge.

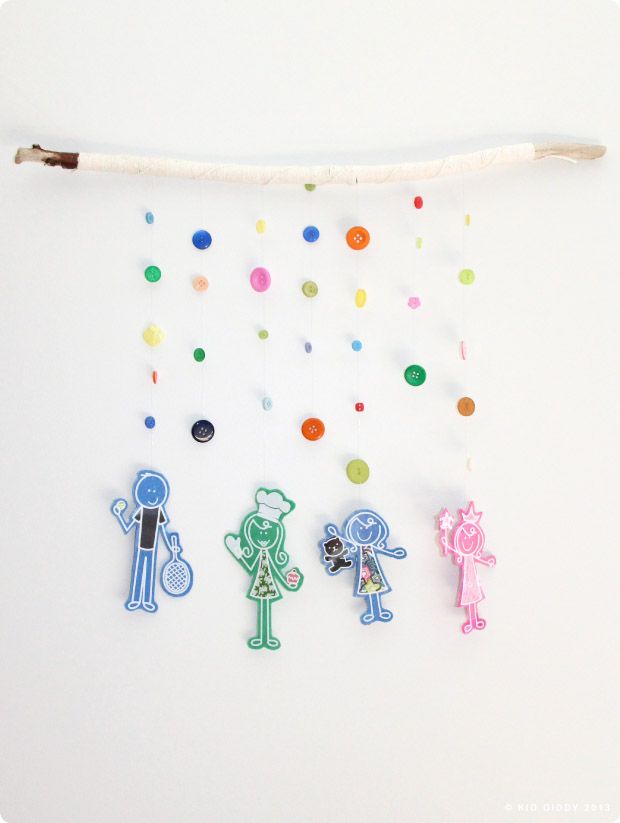
For the Me and My Peeps blog hop, I decided to make a little home decor wall hanging. It's really easy and there's not too much in way of supplies.

You'll need:
The Me & My Peeps decals from Plaid
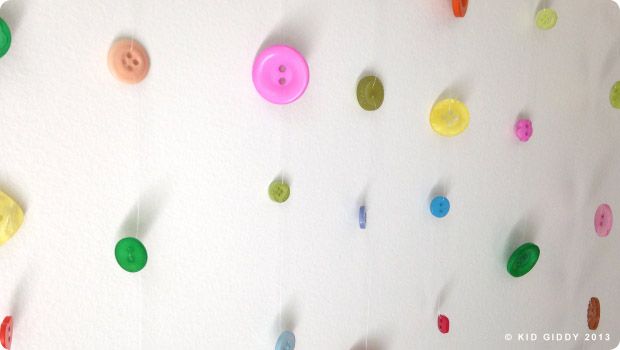
Laura's Buttons Galore and More Button Mix
Phoomph from Coats & Clark
Westcott Titanium Scissors cut the phoomph without leaving a residue!
Clear fishing line
Scraps of fabric
Pattern paper or Tracing paper
Tree branch from outside or some stick
Cotton Yarn (optional)

What you do:


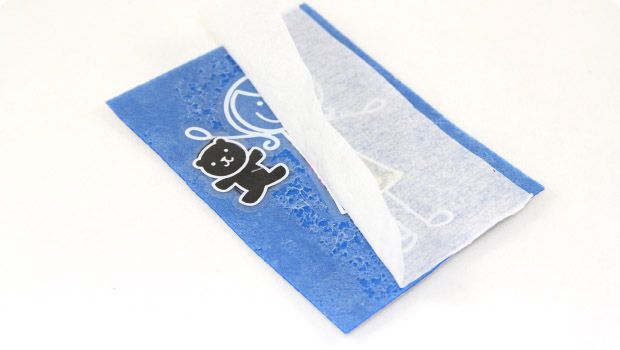
Decide on the decals you want to use. You can combine a person with some of the accessories no problem - just make sure you decide that ahead of time. Where ever you want a piece of fabric to show, use a piece of tracing paper and trace the part of that image. Flip it over onto the fabric and cut the fabric piece out (you have to flip it so the finished side of the fabric is showing when finished). Peel back the sticky paper attached to the decal, and lay the fabric piece onto the decal, right side down.

Lay the decal face down onto the phoomph after you peel the paper off one side only. Then peel the sticky side of the decal paper off the top of the phoomph. Because both of these pieces are sticky, you'll see it peel some of extra adhesive off the phoomph, but it's ok, because that part will be cut away.

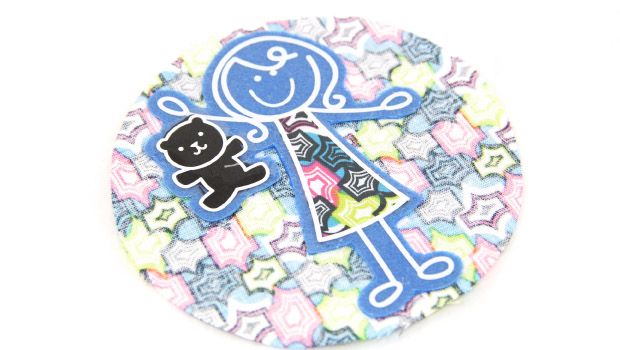
After cutting out the entire shape of your Me and My Peep decal on the phoomph, peel off the back paper side of the phoomph, place a piece of knotted fishing line to the top back of the head, and then lay it down onto the wrong side of your piece of fabric. Cut out the whole shape of your peep again, making sure not to cut the fishing line. 

Make as many peeps as you want, add pets, add friends, and you can even add the grill for the grill master!

To make your button strands, thread the fishing line through two button holes. The buttons will still be moveable and adjustable, but will still naturally hang in the place you put them. If you don't want them to move at all, thread them, and then loop it through again.

When you are finished threading your buttons, tie it to your branch or stick. If you want to spruce up your branch, as I have done, you can get some simple (and awesome) cotton yarn, and simply do a chinese spiral staircase along the whole branch or just sections if you wish.

Thanks so much for visiting my blog. If you'd like to win an awesome goody bag from Laura Kelly and these amazing sponsors, please enter the rafflecopter giveaway here...

a Rafflecopter giveaway

There were 20 designers included in this blog hop, that will go on throughout the week. Check out their designs too for some other fun crafts and ideas! You can find a full list on the Me & My Peeps Website or see the other bloggers that posted today...

Thank you to Laura and her co-host Niki for including me in the blog hop, for the cute decals, buttons and awesome goodies from so many great manufacturers!

Have a great day all!


Although I was given free product, the opinions set forth in this post, are my own. This tutorial is shared with you in the hopes that you will learn a new fun craft. Please do not use my tutorials for your own gain. Please do not use my photos without permission and please do not retake any photos to remake the tutorial for your own blog or another company or in another language. These photos and the text are copyright protected. If you'd like to "Pin" the one finished project photo, please credit me by using "#kidgiddy". Thank you for your cooperation.
Special thanks to our Sponsors and Promoting Partners