I love seeing other peoples crafty spaces. I love getting ideas from all the pictures and feel inspired to keep my space as organized as I possibly can. I am fortunate to have my girls sharing a large room, so I can use the small room as "my craft room". However, they are growing, and so am I, so we are currently in the midst of renovating (finishing) the space above our garage to become my "studio space". And I couldn't be more excited.
I thought I would share a few pics of my own crafty space and the light box that became my best friend while working on my book. It looks pretty clean here - but that's only because I would work on one chapter for the book (about 4 patterns), clean it all up, and then get working on the next chapter. So I snapped the pictures in between chapters. Cheating? I think so! I didn't take pics of my fabric stash or my knick-knacks - but will do that when they are all unpacked!
A few people have also asked (as well as my offering) what my photo set up is like. So I'm going to share that too.
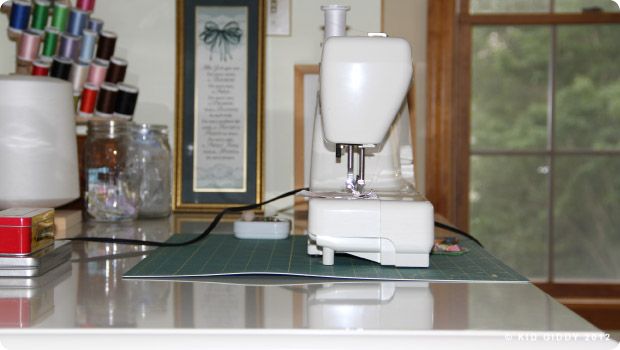
This is my trusty Kenmore sewing machine. I do hope to get a Bernina soon, a Juki someday, and a baby lock as well...but until then, this workhorse has been so good to me. It currently sits on the Porter Desk (from Pottery Barn). The drawer underneath is awesome - but the weight of my machine is proving to be too heavy for the top, and is beginning to sag! *cringe*. So I will have to switch things up when I move up to the studio and will most likely put my computer on this desk instead.
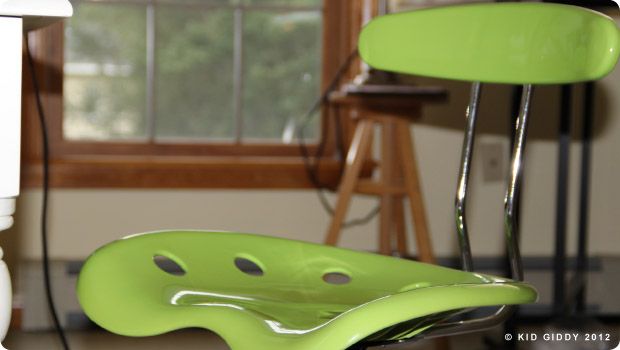
My awesome green chair is from my husband. It was my birthday gift a few years ago and he picked out my favorite color.

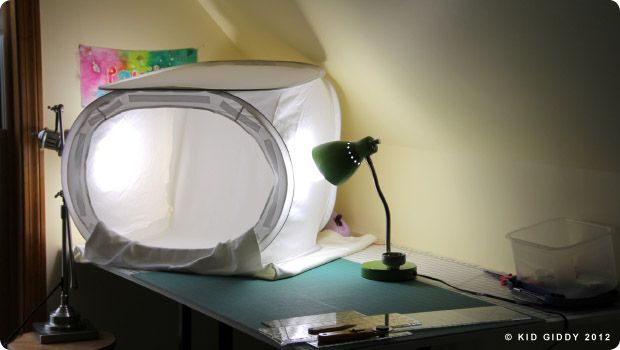
Here is my photo box. It's actually a light tent and can fold up into a little pouch. I know it's quick and easy to make a cardboard photo box - but this is a great investment since it's about $60. You can't put the cardboard one away and hope that it survives. This one is great for using, traveling, and storage! That's totally my opinion and I'm not being paid to say that. I will say though - that I had to by some white fabric to hang & lay inside, because the material it is made with is very wrinkled and not seamless. I bought some bright white velour material at Joann's. You can ask them if they would recommend anything in particular - but this white material is great because it doesn't show everything (like wrinkles). Keep a sticky roll next to the light box though - you'll need it once in a while to remove threads and fiber specs. I pinned the fabric up in the back at the top, so it drapes nicely and doesn't create a shadow.

To make this box or any box work right - you also need the right lighting. The awesome thing I was told at a photo store nearby - was to use photo bulbs in a regular desk lamp - saves you a ton of cash! The bulbs (added a pic of the packaging below) will run you about $15-$20 and the desk lamp can be purchased at Target or anywhere for $10! That is - if you don't already have one! I used 2 that I already had - and they have both been great. You can use up to 4, both sides, top and back. I only have 2. And it works fine. The green one was from target years ago and the other one is adjustable up down and every which way. That helps too.
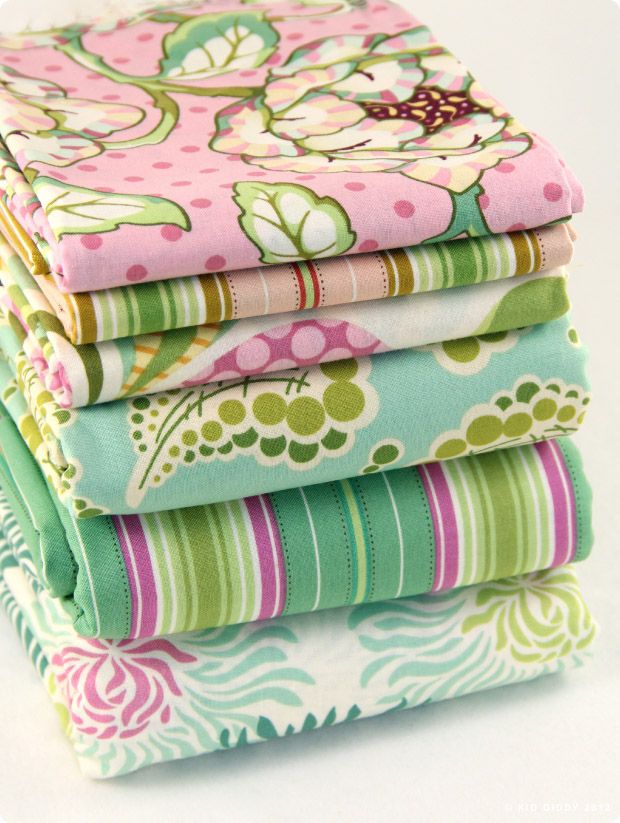
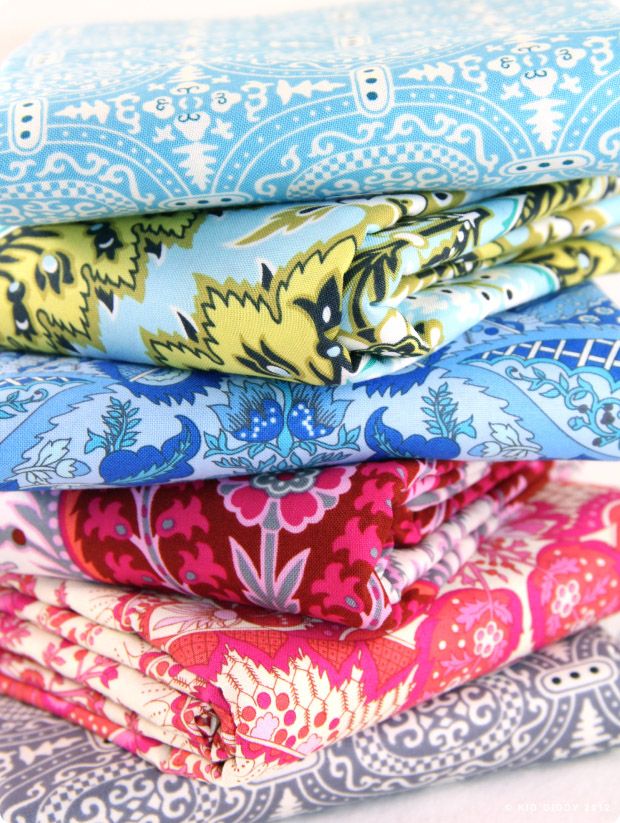
I took a few pics of some
Heather Bailey and
Amy Butler fabric in the light box, and some little lavender stems in an old ink jar.

If you have any questions for me let me know. You can leave me a comment below - and I'll reply as soon as I can. Just so you know - I didn't use any filter effects on any of the pics. It was a while ago - but I did change the saturation levels on the flower image - it was fun playing with these flowers in the light box. Thanks for visiting and I hope you all have a great time creating in your space.


 It's no secret, I live in Maine. I live far far away from the March/April beauty of the southern Cherry Blossom trees that everyone post pics about and talks about all over Facebook and Instagram.
About two weeks ago I saw so many cherry blossom tree pics, that I decided to make a little one for myself to enjoy.
It's no secret, I live in Maine. I live far far away from the March/April beauty of the southern Cherry Blossom trees that everyone post pics about and talks about all over Facebook and Instagram.
About two weeks ago I saw so many cherry blossom tree pics, that I decided to make a little one for myself to enjoy.