Showing posts with label Softies. Show all posts

Tuesday, August 16, 2016

Would you like some Sprinkles with that?

Hi everyone - Dana Willard's (MADE Everyday) Boardwalk Delight Fabrics party is ramping up, and today I'm sharing my sweet little Sprinkles doll with you.

Sprinkles was always the first one in line when the ice cream truck rolled around the corner. With a quarter in her hand (I know ice cream off a truck is not $0.25 anymore - but let's go back to that sweet time when it was) she excitedly picked the Cherry Chip ice cream pop covered in chocolate and got a free warm pretzel. Everyday she tried to pick a different ice cream and liked them all, but if you asked her, she would say "anything with sprinkles on top, is my favorite".
She was always decked out in her favorite playtime summer dress (the one with sprinkles all over it of course) her comfy Mary Jane's and little bows around her perfect pig tails. After her ice cream was all gone, she skipped and played hopscotch along the boardwalk until the sun was setting and it was time to go in for dinner.


As soon as I saw Boardwalk Delight, I knew I had to make a little doll that was obsessed with Ice Cream. Sprinkles is that little girl.

I was so grateful Dana asked me to make something for her Boardwalk Delight Lookbook. I loved the fun and playful vibe of Dana's new fabric line and love that it brought back awesome memories of running down the beaches and boardwalks of Long Island, N.Y. when I was younger. It reminded me of the days when guys walked past us carrying coolers filled with novelty ice cream and sodas. (Do they even do that anymore?) It's the perfect fabric to remind you that when you see the ice cream truck coming through your neighborhood for the first and last time of the summer...you make memories and buy ridiculously expensive ice cream, because our children will be grown way too soon and summer will be over before you know it.

How I made the Sprinkles Doll:
I have posted some other tutorials (Queen Phoebe Bunny Doll, Bubbles) that can show you how to make the dress on her. I used my Kid Giddy Sizzix Doll die for her head, body and hair. I used my Kid Giddy Sizzix Fox die for her arms and legs, as well as her socks and mary jane's.

Her collar and bloomers (which you can't fully see in the pic above), were made using my new Kid Giddy Sizzix Doll Clothes die. The quick belly button is a must when making your new dolls with clothes.

I love sharing a new tip, trick or tutorial with each new doll that I make...so if you want to make some little socks for your dolls, you can do so using my quick and easy tutorial below. This tutorial will work with the doll leg/foot piece as well as the fox leg/foot piece as shown in the pics.
Step 1: Begin by cutting out 4 leg/foot pieces. Trim to desired length. If you want to add a cute edge, do so after cutting the sock pieces from the leg/foot areas on the die so you can be sure they are all the same length. I decided to add a little cotton lace detail on the top edge of the socks (because that is how socks always were back in the day). You can do a rolled hem instead or use some other fabric trim. If you do, be sure that you put the right sides together, so the seam of the hem or edge is showing as shown below.
Step 2: Stitch the top 1" - 1 1/2" on the sides. (TIP: I used a thinner old t-shirt material for these socks and used a serger. If you are using quilters cotton, a simple straight stitch will be sufficient.)

Step 3: Turn the sock right side out (according to the top area) and sew the remaining raw edge of the sock from one side around the toe, and up to the other side.


Step 4: Turn the sock right side out again (according to the bottom portion of the sock).

Step 5: Fold down the top edge of the sock. All seam allowances are hidden and the socks go on and off easily. Perfect for kids learning fine motor skills.

Her Mary Jane shoes were made using the same leg/foot piece on the Fox die as were the legs and socks, just cut, trimmed and top stitched accordingly. If you are making a doll using the doll legs, you can do the same thing, just eye ball it as I have done, and add a little strap and button.

For more information or to find out where you can get some of Dana's new fabric, visit Dana's website (link above) or the Art Gallery Fabrics site. For more information on my Kid Giddy dies with Sizzix, please visit Sizzix.com where you can find projects and videos to help you make your own special soft toys.

Thanks so much for stopping by and reading all about Sprinkles as inspired by Boardwalk Delight.


http://kidgiddy.us2.list-manage1.com/subscribe?u=9ea4c419178a2e61b529af8aa&id=975aef860e


Disclaimer: I received fabric from Art Gallery Fabrics to design this doll with. Opinions are my own, and there are no affiliate links. Thank you.

Tuesday, January 26, 2016

Bubbles the Paperie Doll and her tiny CoPilot Bag

I'm so excited to finally share what Amy Sinibaldi's Paperie fabric inspired me to make. Little Bubbles has been fluttering around my house for the past month, as my daughters have snuck in a few cuddles with her here and there. She's in a new spot everyday. I was thrilled Amy asked me to be a part of her blog hop because I knew her fabrics would make the cutest little doll. I didn't skimp on this and kinda broke the mold on her. If you are familiar with my Sizzix Doll dies, you'll notice her arms and legs are not the same as the ones on the doll die. These arms and legs are from the Sizzix Fox die. The pieces are all interchangeable - she's my first bit of proof.
For her outfit - I made Bubbles a little "bubble dress" with puffy sleeves. It was easy to make and looks really cute with a little tulle underneath (my daughter took the tutu from my ballerina doll and added it underneath at one point. It's not shown here - but I'll share that pic when I post the dress tutorial tomorrow). I also decided to give her sweet little capris with some lace detailing) same as on the sleeves). I finished off her dress with two beautiful buttons designed by Jane from "Quilt Jane". Because she lives in Maine - Bubbles clearly needed her own little infinity scarf to keep her warm.
Bubbles is quite unique as you can see from her pink hair and dual hair buns on top. She loves to knit in her free time and travel. Beside her is her little Mini Co-Pilot bag - she loves a good adventure - that word has become her middle name. The word 'adventure' and the bag fit her perfectly.She ven brings her scissors along for some crafty traveling.

Info on making the bag MINI: I made this mini bag for her using Sara Lawson's Co-Pilot pattern from her new Windy City book. I took Sara's bag measurements and divided them by 4. I then took the pattern piece for this bag and shrunk it down to 25% of the original size. Because I changed the size - the seam allowance was no longer the same as required. To fix this - I cut off the seam allowance and added an accurate allowance back on. This kept the pattern 100% accurate in shape and dimensions. This is something I always recommend to people using my patterns (or anyone's patterns) if they make them smaller or larger than advised. I used some Soft and Stable from Patterns by Annie (only one layer for the bottom and sides) to give it body, and of course had to add a little scissor tag to the zipper pull.

If you would like a chance to win a charm pack of Amy's new Limited Edition Paperie fabrics from Art Gallery Fabrics - please leave a comment below (OR on my instagram pic of Bubbles). I'll pick a winner and advise next Tuesday. (EDIT: Thank you to everyone for entering the giveaway here and on my IG feed. Congrats to Kimberly R for winning).
Thanks so much for stopping by and thank you Amy for letting me play with your fabrics. Please sign up for my emails to get info about new patterns, new dies, future sales and other fun stuff. I have yet to send out my first one - but I will soon and will surely include something fun.


http://kidgiddy.us2.list-manage1.com/subscribe?u=9ea4c419178a2e61b529af8aa&id=975aef860e


Disclaimer: I received some fabric from Amy to use for this blog post. I also received a copy of Sara's book and some Soft and Stable since I hadn't ever used it before, as well as the buttons all the way from Australia from Jane. All of the opinions are my own and none of the links above are affiliate links because Maine is crazy like that. Any knitting featured in this story was created by one of my talented daughters.

Monday, October 10, 2011

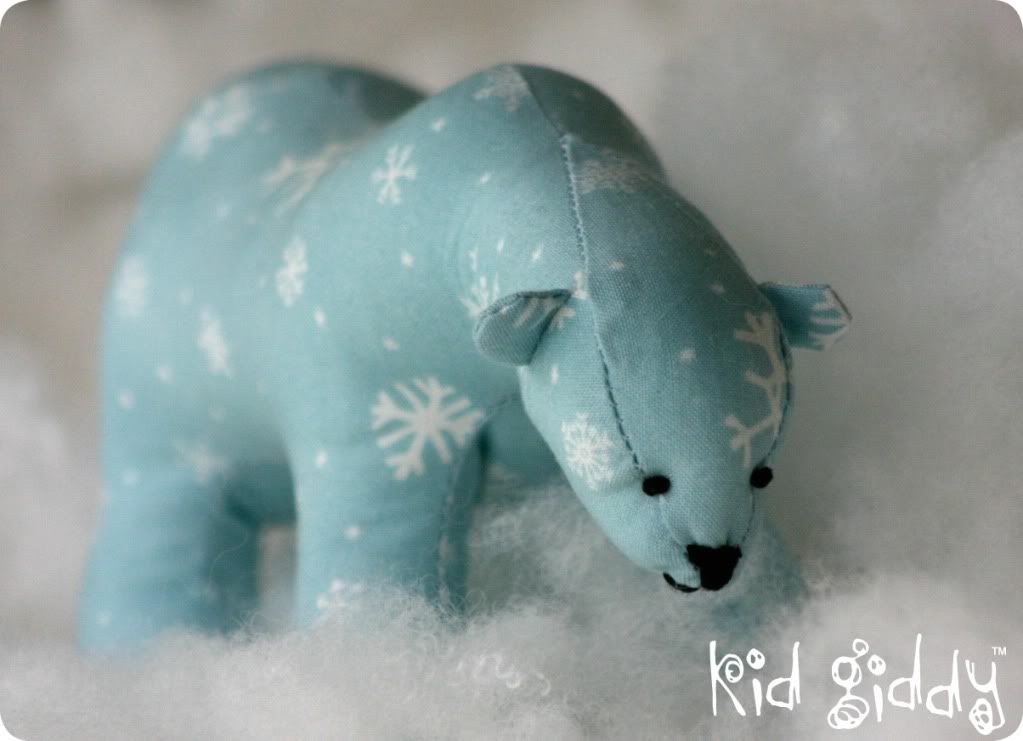
Busy Monday: Bits 'n Pieces Series - Teeko the Polar Bear Softie

Hello everyone,

It is late Monday night and I had to get this little Teeko the Polar Bear post up on my blog, before flying off to neverland! I still cannot believe the year I have had. This adorable little Teeko marks the end of the "bits 'n pieces" series! This latest holiday issue (Nov/Dec 2011) of Crafts 'n things Magazine is officially out on stands...and is as cute as can be! You won't want to miss it.

A year and a half ago, my life was totally different. I blogged feverishly, I struggled to sell anything on my Etsy shop, I took my girls to school, went to karate, ran, biked...did all the normal things I would - well - normally do! Then one day a friend told me to submit something to Crafts 'n things Magazine! I thought - there's no way I could do that. But I resisted the urge to run and hide, and contacted them immediately. To my surprise - they loved my work.

I found out what they were looking for and shot an email back only 10 minutes later. Then I got an immediate response - they loved my Owl. Now I was ready to run and hide again! I had never written a pattern up - at all! I thought it had to look, sound like, and be as confusing as the store bought patterns! lol! And I certainly didn't follow those - let alone know how to write one up for others to understand it! I worked really hard on it. I wrote some of it - and struggled to write the rest. I just didn't have the confidence. I still wanted to run and hide. Finally, the day before the due date - I convinced myself it's now or never, and did it! I did the same thing when I accepted the challenge to do an entire series for the magazine! I wanted to run and hide - but told myself - "it's now or never!" So I did it. And I couldn't be happier!

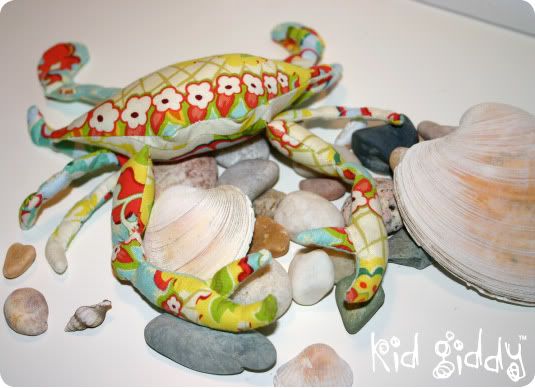
I don't know how many Crafts 'n things Magazine readers are reading my blog. I don't know how many people like or love my designs. All I do know, is that I stretched myself. I didn't run and hide - when Heavenly Father knows I could've! I dug deep and I climbed my mountain. I have learned so much from this series, this experience, and I sincerely hope you have all enjoyed the new plush friends we've made together: Heddy the Hedgehog, the Tufty Bird Family, Sammy the Seahorse, Carter the Crab, the Reversible PumpKat and now Teeko the Polar Bear! Eventually, when I get my act together and have less work to do - all of these patterns will be available as kits in my Etsy shop, or my own web store. But we have time!

Thank you for taking this journey with me! I now know a few of you, from the Kid Giddy Facebook page and the Kid Giddy Flickr group, from the pictures you have posted, and I am grateful! There will be more fun stuff on the horizon - but my lips are sealed! Thank you to Abby & Annie for this journey! I hope you all have a wonderful night! See you soon!


Monday, September 12, 2011

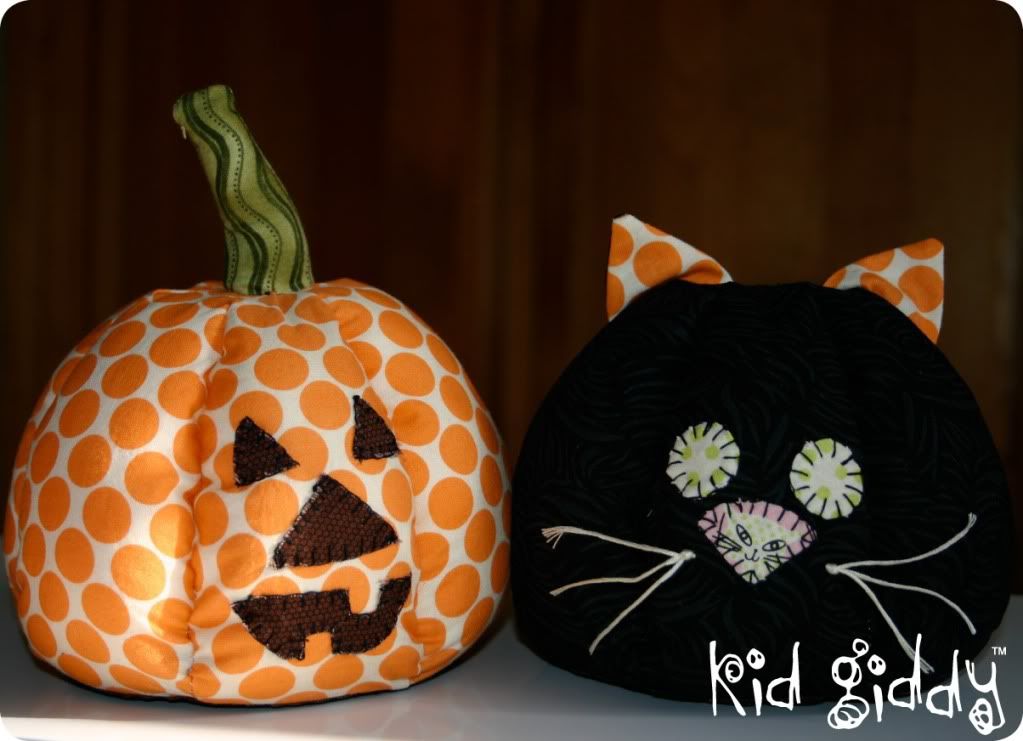
Busy Monday: Reversible PumpKat Softies


Boo,

Hope this little PumpKat didn't scare you! Get your copy before it's gone!  The latest issue (Sept/Oct 2011) of Crafts 'n things Magazine is out on stands...or sold out - so run don't walk to get your copy now!

This year for halloween I couldn't decide if I wanted the pattern to be a Jack-o-Lantern or a Black Scaredy Cat! So it became a little of each! Just like some years...most years, my girls can't decided what they want to be for Halloween...until the last minute! Yikes!

By following the simple, sew as you go, concept in the instructions, you can to make this reversible PumpKat for your fall festive table decorations this year! Give them faces or let the fabric do all the talking. Make just one, or make as many as you please. You can even enlarge it to make a really bold...huge statement! No matter what you do...have fun and enjoy the fall season that is quickly approaching!

When you are done making your PumpKat, please head on over to my Kid Giddy Flickr group and post your pictures for all to share. I'm going to start highlighting some of you crafty folks that are posting in there! Please let me know if you have any questions putting yours together! Have an awesome week!

Monday, April 11, 2011

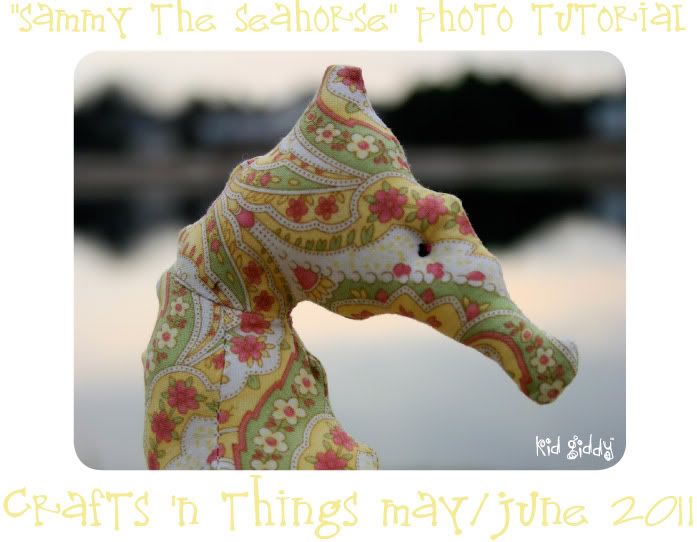
Busy Monday: "Bits 'n Pieces by Kerry Goulder" - Sammy the Seahorse Softie Photo Tutorial


Hello crafty friends,


It's that time again to bring you the next softie in my "Bits 'n Pieces" series from Crafts 'n things Magazine. This series started off with a very fun little "Hedgehog Softie" and the adorable "Tufty Family" which will be available soon in my Etsy shop!

Please be sure to get your copy of the May/June 2011 issue of Crafts 'n Things Magazine so you can get the pattern and written instructions, as they will not all be included here.
 

If you have any questions at all - please do not hesitate to drop me a comment here to let me know! If you'd like to share your Sammy the Seahorse creations - you can visit my Kid Giddy Facebook page and upload a picture of your cute little seahorses and all the fun places they are hanging out! Thanks for purchasing a copy of Crafts 'n Things magazine and supporting crafters like me! Have fun sewing!


Please note these photos are for home and personal use only, as is the pattern. All are copyright protected 2010-2011. Due to copyright and contractual agreements, these tutorial photos will only be up while the magazine is on the newsstands through mid to late June 2011.